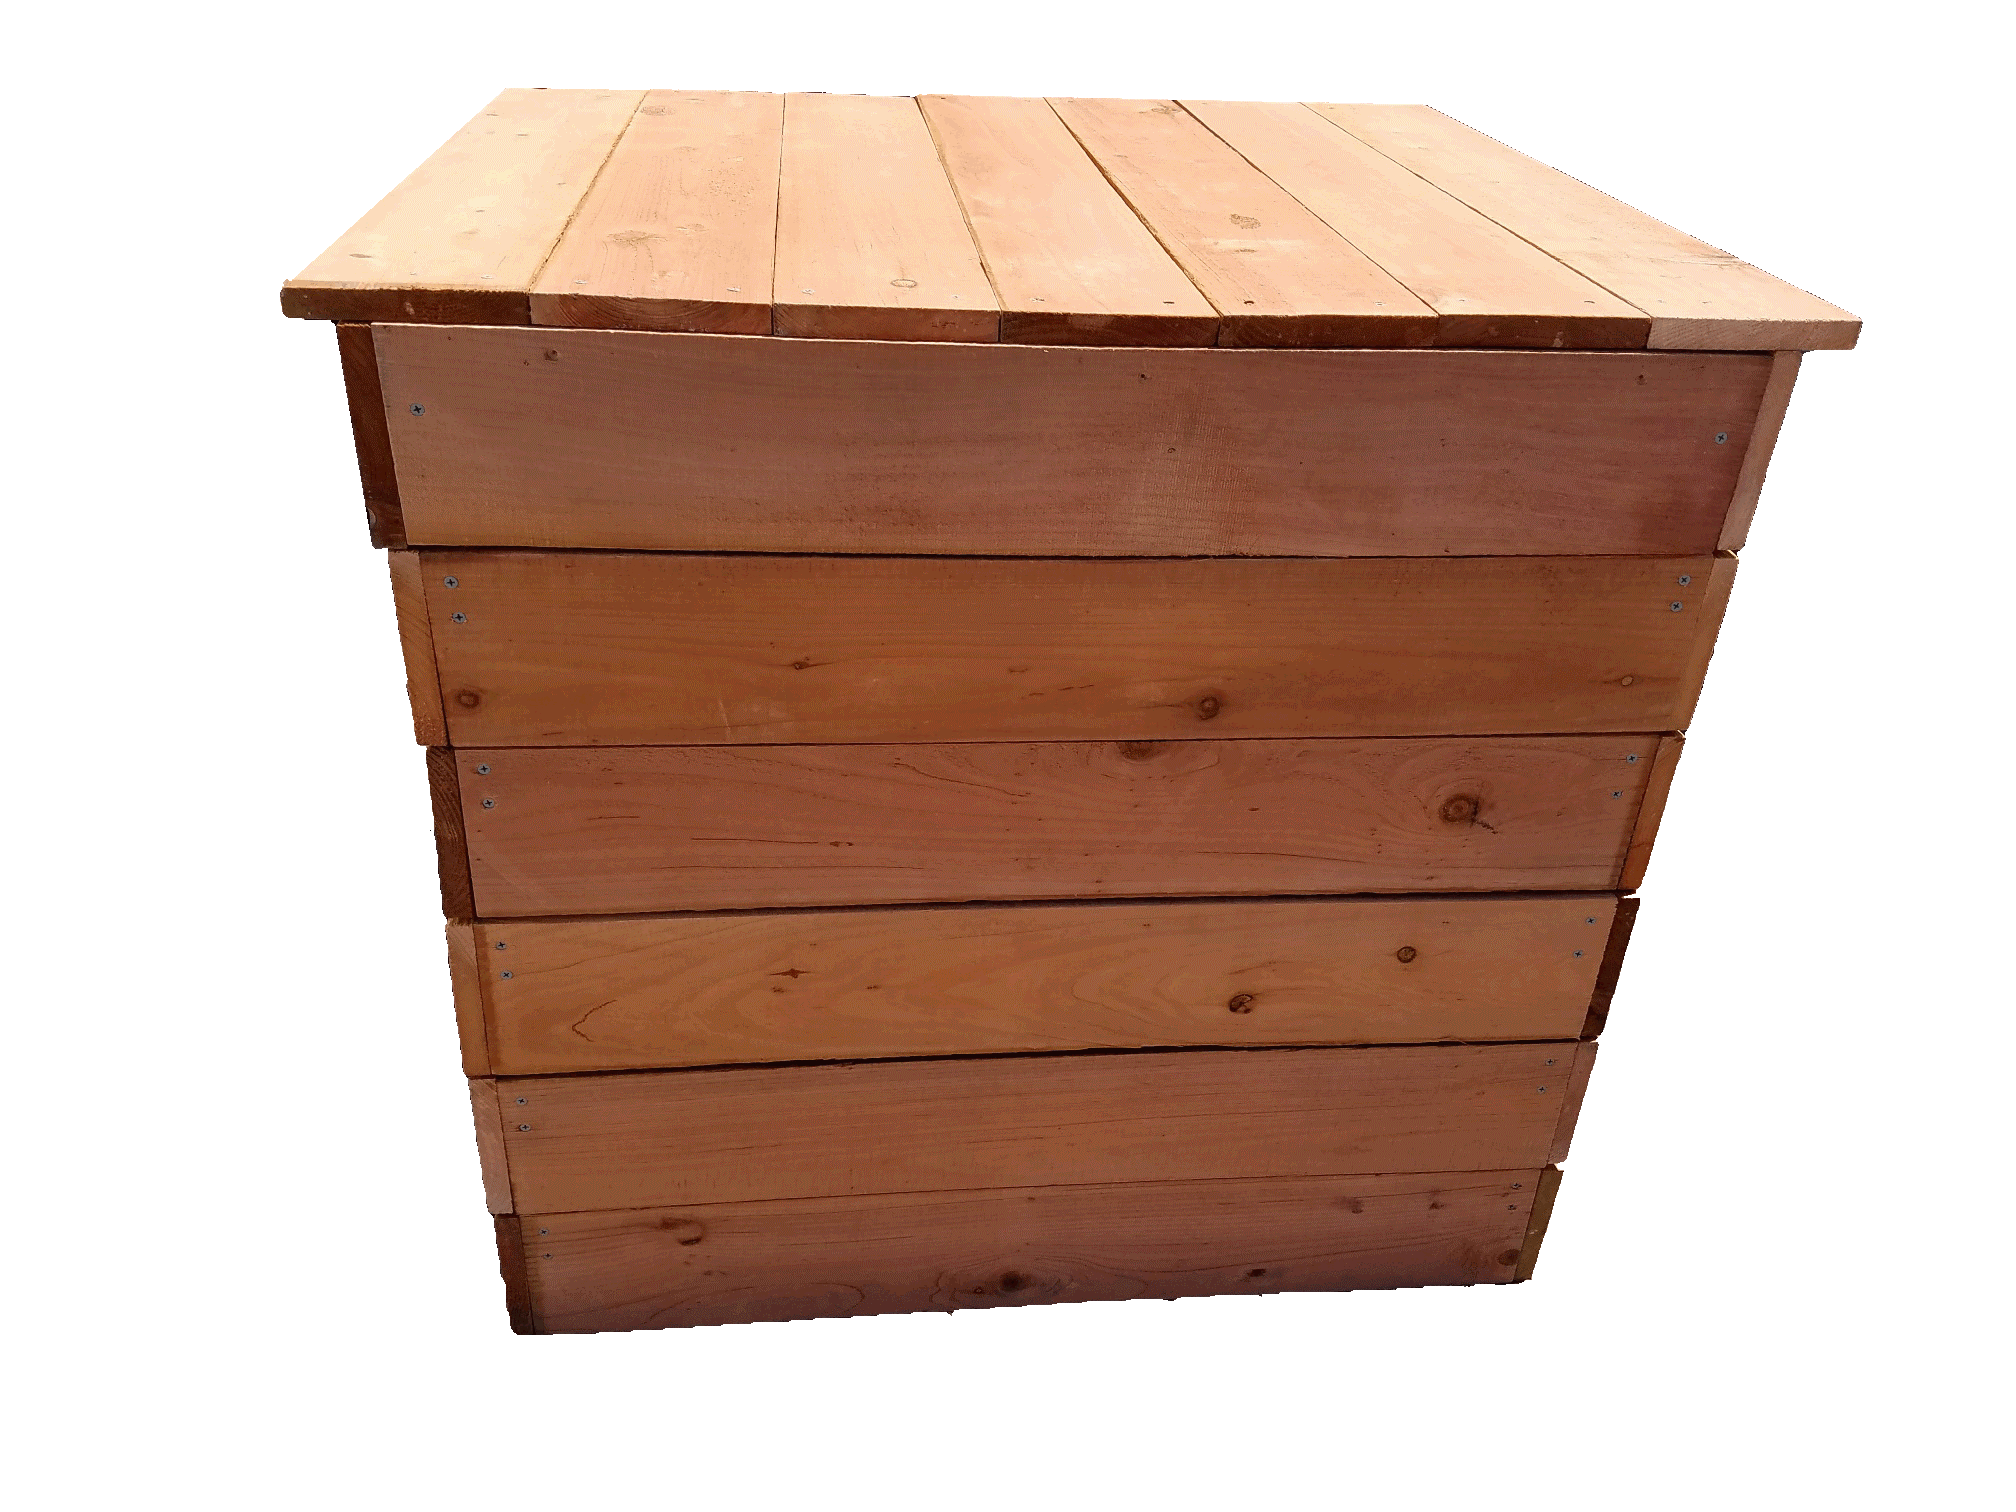
Stackable Wood Compost Bin

This wooden bin requires minimal carpentry skills and is designed to make turning a pile easier.
1. To turn the pile, remove the 2 lids and the lid section and place aside.
2. Remove the next section with the shelves and place on the ground next to the bin.
3. Fork compost into this section until full then stack another section on top.
4. Continue to move sections and the compost material from the old pile, until all the contents are in
the newly placed pile.
5. Put the lid section on top and then the 2 pieces of the lid.
Time
Allow approximately 2 hours for 2 people after you have the materials.
Materials
The following materials list is for a 6 layer stackable bin using 1 inch x 6 inches x 6 feet fencing boards. If you are going to use some other size of lumber, measure and make the appropriate adjustments. The minimum bin size a bin should be is 3 feet x 3 feet x 3 feet.
• 16, 1 inch x 6 inch x 6 feet fencing boards
o Cut each board in half to make 32, 3 feet boards. You will have one left over.
• 6, 2 inch x 2 inch x 3 feet pieces of wood
o Cut 4 of them into 36, 6 inch pieces which will become the shelves
o Cut 2 of them into 2, 21 and 2, 15 inch pieces for the top at the end of the project
• Approximately 115, 1-1/2 inch wood screws
Tools
- Screwdriver and drill bits
- Hand or skill saw
Directions
Bottom 5 Sections
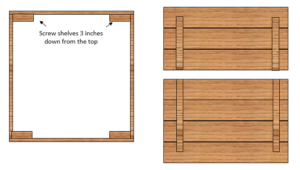
- Screw 2 boards to each shelf, making sure they are offset so they extend 3” past the top of the section until you have a complete square as shown below. Each section should be fastened securely with at least 16 screws (4 on each corner).
• Drill pilot holes for the screws. Use a drill bit that is slightly smaller than the screw.
• Draw a line at 3 inches on the shelves and lay the fence board on the shelf to drill the pilot holes and put the screws in.
2. Continue until you have 5 full sections completed.

Lid
- Screw 2 boards to each of the remaining 2 inch x 2 inch x 3 feet boards 3 inches from the top until you get all 4 sides attached.
- Screw 3 boards to 2 of the 2 inch x 2 inch x 15 inch boards with 2 screws for each board.
- Screw 4 boards to 2 of the 2 inch x 2 inch x 21 inch boards with 2 screws for each board.

